
Setup and teardown takes a lot of time, energy, & can be super draining.
We have so many responsibilities on Sunday mornings and by the end of setup, I’m often already insanely drained. I was in major need of a way to shorten setup and teardown.
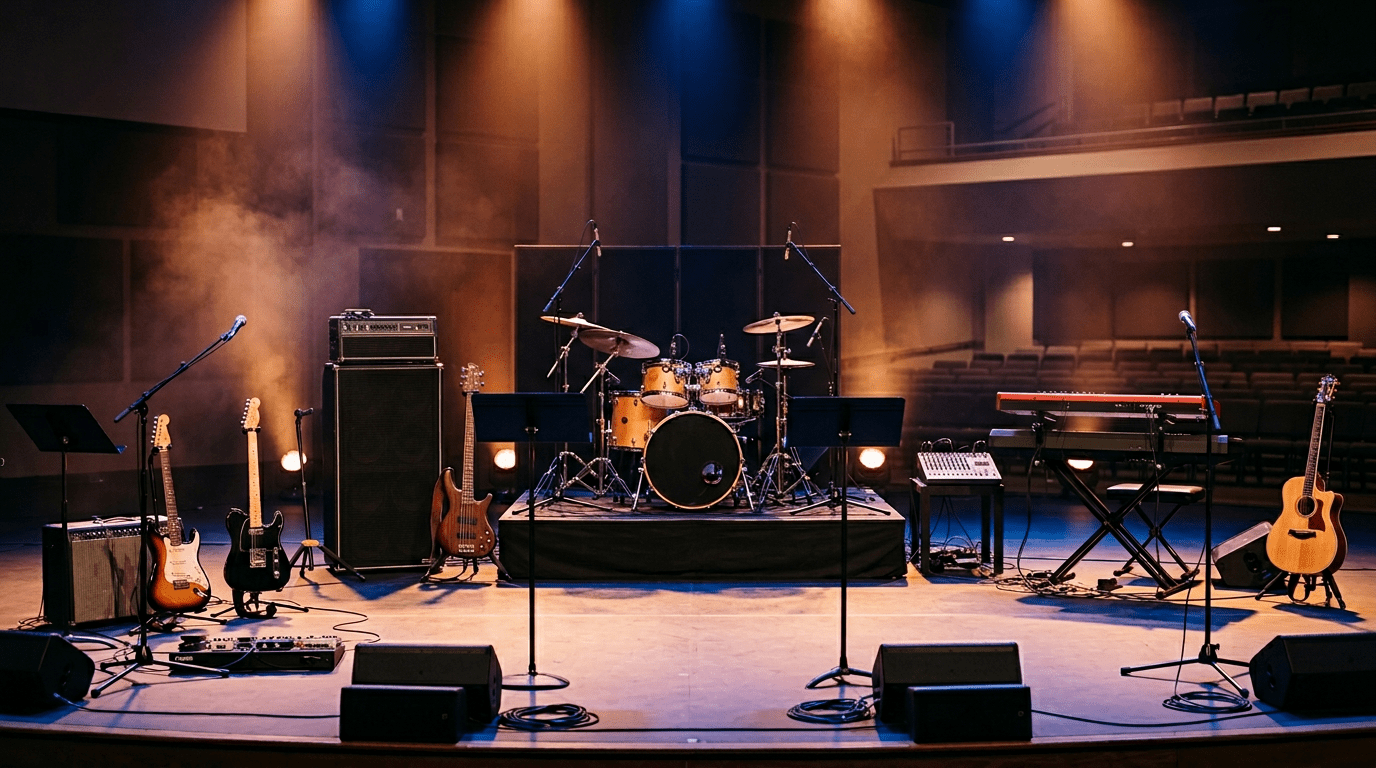
For 5 years, it would take our team about 90 minutes to setup the stage on a Sunday morning…
When our new Worship Pastor, Ben, joined the team, one of the first things he told us was that he could trim down setup by 60 minutes. At first we scoffed and after 3 weeks of the things he implemented we cried. The things he implemented literally shortened setup and tear down by an hour!
The best part about this list is, the majority of these things cost less than $100. This isn’t a list of a bunch of gear that cost thousands. It’s simply and cheap solutions that make a world of difference.
A lot of churches have made setup and teardown way more difficult than it needs to be.
Over the last 10 years of serving at a setup and teardown church I’ve gotten first hand experience with this. The crazy thing I learned from Pastor Ben was there were things we could purchase that contributed to saving all this time. Here are 16 things we bought/did that made setup and tear down super quick and effortless for our team.
1. Individual Team Member Boxes
For every person you have on stage, you should have a clear plastic stackable storage boxes with a lid. Inside each of these boxes should be every cable and accessory they use to perform their role. Microphone, direct box, XLR, instrument cable, personal monitor (Aviom, PowerPlay, etc.) cat-5 cable, headphone extension cable, power extension cord, power cords, any instrument specific cables & accessories, etc.
The second you reach the point of the day where team members are setting up their stations, you want them to have everything they need as quickly as possible.
We used to throw all the XLRs in one box, all the extension cords in another, and so on and the amount of time people spend digging for the things they need adds up quick. Especially when everyone is trying to grab things from the same box. Having a plastic box that has everything you need in it gets the setup process started immediately and ensures that everything that needs to be connected is remembered.
2. Multi-Colored Spike Gaff each Team Member’s Cables & Accessories
The clear box method only works if everything someone needs is in the box at setup. So get different colored gaff tape, assign a color to each team member’s box, & put the gaff on the box and on every item. This ensures that at teardown the items that belong in each team member’s box end up in the correct place.
Color coordinating each box and everything that goes in each box ensures that at the end of the day everything ends up where it’s supposed to go.
What I’ve found is typically at the end of service, people are speeding through teardown. When we speed through things, we often miss something. It’s also common for others to start helping someone teardown their area once they’ve finished with their own area. In these situations it’s super easy for things to end up in the wrong location. This helps prevent that entirely.
Plus, if for some reason something ends up in the wrong box, it’s much easier to look through other boxes for your specific color taped item. There’s nothing worse than hoping the cable you’re taking from a different team member’s box actually belongs to you.
3. Label Cables with These Specifics…
There are 3 things I put on every XLR.. the length of the cable, “source”, and “snake”.
First, labeling the length is for if there’s some reason you’re needing to run an XLR for something out of the ordinary that doesn’t have a previously designated box. It allows you to be able to set it up a lot quicker when you can quickly locate the appropriate length.
Now this next thing is honestly one of my favorite things I’ve ever done in the setup and teardown game…
Label “snake” on the male side of the XLR & “source” on the female side of the XLR. I can not express how many times I have ran an XLR from my station that’s on the completely opposite side of the stage from where the snake is located, to ultimately realize I ran it backwards. Even as I wrote that sentence, ANNOYANCE SURGED through my veins!
Sometimes it’s a bit confusing to remember which side of the cable goes where. So this little label helps prevent all that time from being wasted and keeps your veins annoyance free.
5. Label Everything
To put it simply: the more labels, the more clarity. The more clarity, the quicker things move and the fewer questions get asked. So buy a label maker and label the cables, label the direct boxes (bass DI, acoustic DI, etc.), label the wireless mics, label the personal monitors, label the team member’s boxes, label the specific place on the shelf that the each team member’s box goes.
Pro-tip: Use heat shrink tape! Labels have a tendency to fall off, so get a label maker that can print on heat shrink tape, a heat shrink gun, and heat shrink all of your labels to the cable.

6. Loom Together Cables that Start and End at the Same Location
If there are cables that start and end in the same general location, it’s a waste of time to walk that route twice. It’s crucial to use a loom that allows for easy installation and access to your cables; should you need to add or remove a cable from the loom. The one best one I’ve found is Flexo Woven Wrap TechFlex Mesh Netting.
I can not stress enough, only use a side-loaded cable net wraps.
Not only does it save so much time when first loading it, but it’s near impossible to get a cable of a top loaded cable wrap.
I once tried between services to switch out an XLR in a cable loom. 30-minutes later and 5 seconds before the service started, I had to panic grab and throw another XLR across the stage. We were only halfway done loading the new cable into the loom. We ended up with a mess of cables on stage for the entire service. Don’t make my mistake, side-load those puppies.
(Speaking of puppies…all in favor of emotional support animals in the green room say, “I”!)
7. Sub-snake instruments that use a lot of XLRs
For things like drums, 6-output tracks rigs, etc. you should be using sub-snakes. They visually keep things super clean and minimize the amount of long cables you need to run!
8. Put Everything on Wheels
Storage carts, speakers, amp cases, cable boxes, literally everything you can throw wheels on, put it on wheels. You’re moving a ton of stuff on and off stage every week and you need to be able to employee everyone on your team, regardless of strength level, to get equipment to and from your stage.
9. Store the PA Amplifiers, Digital Stage Box, Wireless Receiver/Transmitters, etc. in a Single Rack Mount Case with Wheels
For things that are mountable and are connected to one another, try to fit as many of them in the same case and leave them connected. I personally love using the deep cases, so that you can mount things on both sides of the case. Saves so much space and lessens the amount of cases you need to purchase/setup. I’ve found a lot of success with a 12u 24″ deep ATA Rack Case with Casters (WHEELS!)
10. Digital Soundboard & Digital Stage Box
I left this for #10 because it seems like every list I’ve ever seen on the items mobile churches need always cost thousands of dollars. In the first few years of being a new church, there’s a lot more important things your church is spending their money on than tons of tech. So it was important to us to not come right out the gate with, “Hey! Want to setup faster? Well, it’s gonna cost you $15,000. Good luck!”
However, I do want to emphasis that a digital soundboard and snake are one of the biggest time savers for a portable church.
With the nature of setup and tear down, you want to be able to be up and running as quickly as possible. Digital soundboard and snakes allow you to quickly recall your previously saved settings, fully ready to go with as few as 2 cables. Plus with how common these are right now, you can get an X32 soundboard with a DL32 stage box for under $4k.
That price tag might feel a little high, but with the amount of stress you relieve, time you’ll save, & how quick it is to get things to sound great – it’s so worth the investment.
11. Cat-5 Cable Reel
Often the soundboard is a pretty far distance away from the digital stage box. So having a reel allows for that cable to be packed up pretty quickly and cleanly. Your cable connecting the stage box to the soundboard is the most important cable in your entire setup. So it’s probably a good idea to have something like this that diminishes wear and tear, while also keeping it safe when packed.
You can purchase cable and reel together or you can just buy a cheap $15 reel to wrap up your Cat-5 cable with.
12. Mic Stand Bag
Think about how many moveable arms on a mic stand. Having a bag that they all go in, ensures that the arms don’t getting in the way and it keeps things from getting caught on them.
I highly encourage having a mic stand bag for drums & a mic stand bag for vocalists/talkback.
If the mic stands are loose, they you’re walking back and forth from the cart they are held in and that’s an unnecessary waste of time. Two bags. Drop bag 1 by the drum station and bag 2 where the vocalists are.
13. Hosa PDX-430 6-Outlet Power Distribution Cord
This one was a HUGE game changer. Obviously you need a TON of power cables. Finding enough outlets to accommodate your needs, is typically a nightmare. For years we would plug power strips into every outlet and run 50-100ft cables all over the stage. It took forever and looked awful.
Then we found this amazing 30ft cable that has an illuminated outlet every 5ft.
Put one along the back wall of the stage and along the front of the stage and boom! Everyone has easy access to power without needing to run super long extension cords.
14. 3-outlet Extension Power Cords
On the topic of power cords, another thing we’ve learned over the years is most people, if they need access to more than 1 outlet, don’t need more than 3. So we purchased these 15ft extension cords that have 3 outlets on the end of it. We’ll plug a few of those into the power distribution cord and run them stations in need.
Everything built into one cable saves so much time and space in packing, way more than an extension cord and a multi-outlet power strip.
15. Velcro Ties
What kills your ability to setup quickly are cables that are intertwined and knotted up from a poor wrap. Velcro ties are a quick solution that keeps cables neat and maintain organization.
16. Tons of Extra Cables
Finally, cables go bad. It’s super common. So you need to have a bin with a ton of extra cables. I highly suggest putting a label on each cable stating how long it is.
This way if something is going wrong, you can quickly go to your extra cable bin, locate the length you need, and swap it out.
Again, make sure they are all velcro tied, so that in an emergency situation you can quickly grab and go. Honestly, I suggest having at least 5 10ft XLRs, 5 25ft XLRs, 5 10ft 1/4″ Instrument Cables, 3 extra 3-outlet extension cords, 3 extra 50ft personal monitor Cat-5 cables, 3 USB A to B, 3 USB C to B, and a few extra mic clips. Again, stuff breaks easily and you need the ability to quickly correct what’s broken!
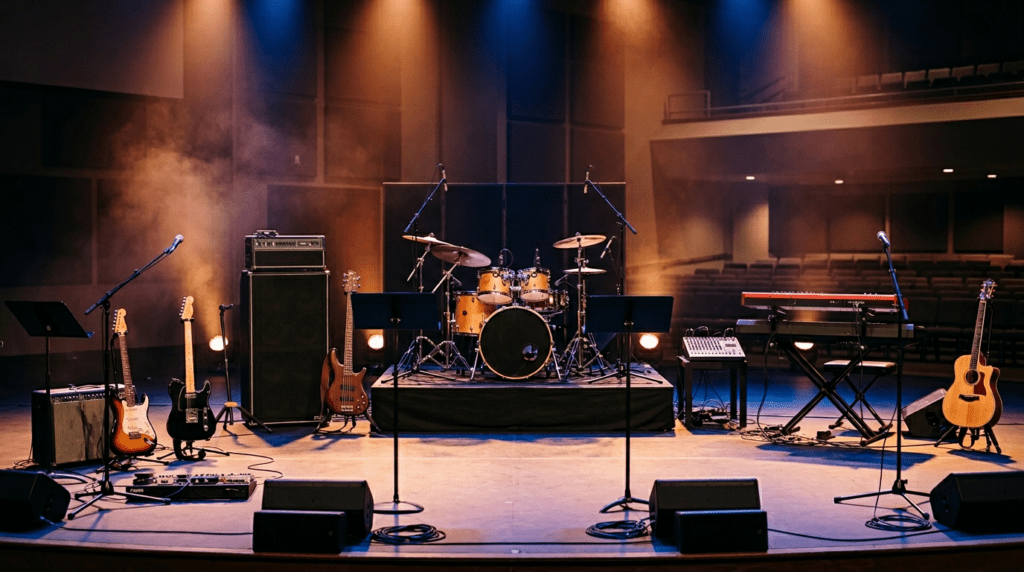
Once we acquired all of these items it took our setup time from over 90 minutes down to 30 minutes.
But not only did it save us so much time, it eliminated a huge amount of stress from our Sunday morning experience. The last thing you need on a Sunday morning are obstacles that try to steal your attention from the mission you’re called to. You need to be able to come in, setup quickly, and with a centered focus place all your energy in leading people; not getting caught up in the weeds of setup/teardown. It sounds crazy, but truly it worked!
We’d love to know what you have used to make your setup and teardown more efficient.
Leave us a note in the comments or on our social media accounts! Happy setting up!
You may also be interested in these posts as well:
-
- The Dream Tracks Rig I Used on Tour Opening for Twenty One Pilots
- The Best Interfaces & Computer Accessories for Worship
- Keys Rig Rundown: Gear & Software
- Creative Synths & Spontaneous Keys with McKendree Tucker (Keyboardist for Kari Jobe)
- Using Drones and Playing Keys in Worship with Matt Stanfield (Keyboardist for The Belonging Co.)
- Worship Synth Bass Setup + Tips & Tricks With Tom Furby (Hillsong Y&F)